For those of us who weren’t raised along the vast stretch of crashing gray waves and grass-crested dunes of Washington’s coastal beaches, the term ‘clamming’ might sound like a peculiar or downright strange activity. Possibly one only reserved for crusty fishermen or grizzled longshoremen digging waist deep in muck.
But for those who grew up here on this 28-mile stretch of uninterrupted beach, it is a way of life that dates back centuries. And, trust us, it’s way more fun than it sounds.
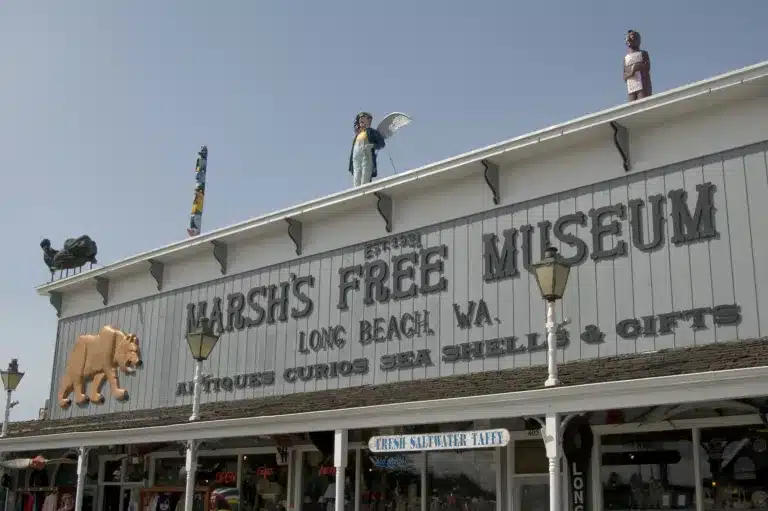
It’s no wonder that driving through downtown, one of the first features you’ll likely come across is a massive frying pan next to a wooden sculpture of a clam. Believe it or not, this 14-foot by 9-foot frying pan still stands as a reminder of the annual clam festival and was once actually used!
When staying at one of our boutique vacation rentals, you’ll no doubt want to try your hand at the local’s favorite activity. Let’s dig into clamming on Long Beach and how you can scavenge for your dinner on the Washington Coast.
A Short History of Clamming in Long Beach

Clamming is one of the most iconic activities you can do in Long Beach. The aforementioned giant frying pan in Downtown Long Beach was once used for cooking the world’s biggest clam fritter — feeding tens of thousands of people!
As far back as the 1940s, the annual Long Beach Razor Clam Festival has attracted people from all over the Pacific Northwest. These days the festival is still held in April every year but the clam fry no longer exists due to the declining clam population over previous decades. The frying pan is now retired, displayed as a prideful symbol of the town.
Flash forward to today, and clamming is still a popular local tradition no longer reserved for the expertise of fisherman, but also a fun experience for the whole family to get down and dirty in the wet sand digging for your dinner.
What Is A Pacific Razor Clam
Any local worth their salt around Long Beach knows that clamming doesn’t procure any old clam. It’s specifically referring to the sleek 6” bivalves, otherwise known as razor clams.
These are a meaty, protein-rich relative to the Atlantic razor clam, which tends to be smaller and closely resembles their name. For this reason, it’s no wonder that they are the most sought-after shellfish, and thousands of clammers riddle the beach during the high season on warm spring weekend mornings in search of them.
Razor Clam Season
Razor clam season runs from October to April. This seems quite long, but it is important to note that only a few days of each month (dig dates) are deemed safe to harvest depending on the marine toxin levels measured by the Washington Department of Fish and Wildlife (WDFW).
Be sure to check the WDFW website for closures before grabbing your bucket and shovel. Information found there will let you know if the toxin levels are below the Department of Health’s guidelines and if the coastal shellfish manager says harvesting is currently permitted.
Clamming 101
When to Clam
The best time of day for diggers to arrive at the beach is one to two hours before low tide. Or if you time it right, at ‘minus tide,’ a tide lower than average that usually coincides with the full moon.
Because of this, springtime is the ideal time of year for digging because the low tides are within daylight hours. During the short days of winter, most minus tides occur well before sunrise or after sunset, but you can still find headlamps bobbing along the shoreline, a sign of brave souls out looking for clams.
ProTip: Check out this great WDFW tide chart to strategize your clamming!
Where to Clam
Due to the uniqueness of Long Beach’s huge swaths of smooth coastline, just about any beach entrance is fair game to head toward the water and start looking for clams.
Feel free to ask around to see where other clammers have had the most success or seen the most clam shows. There will likely be many others like you out there in the muck, digging and searching in the early hours of the morning.
The north end of Long Beach Peninsula has the best razor clam digging for first-timers. Digging is prohibited in some areas, and these spots will be clearly signposted as such.
Other regions on this coastline to check out for clamming are:
- Copalis Beach
- Mocrocks Beach
- Twin Harbors
- Kalaloch Bay
Permits and Fees
All clammers 15 years and older must purchase a valid shellfish/seaweed or a razor clam license. These can be purchased on the WDFW website.
The razor clam license can be purchased as an annual license or a three-day consecutive permit. If you already have a seaweed/shellfish license or a combination fishing license, you do not need the specific Washington State razor clam permit.
Daily Limits
Due to the diminishing number of clams, a daily limit of 15 clams is set per digger, regardless of their size and condition. This means even the cracked ones, which are inevitable when you’re just getting the hang of it. Fortunately, the taste isn’t affected by the state of the shell.
This catch limit is why Long Beach is one of the best places for harvesting razor clams in the Pacific Northwest. Protective laws for the species ensure an abundant supply for the thousands of diggers that come here annually.
Clam Technique
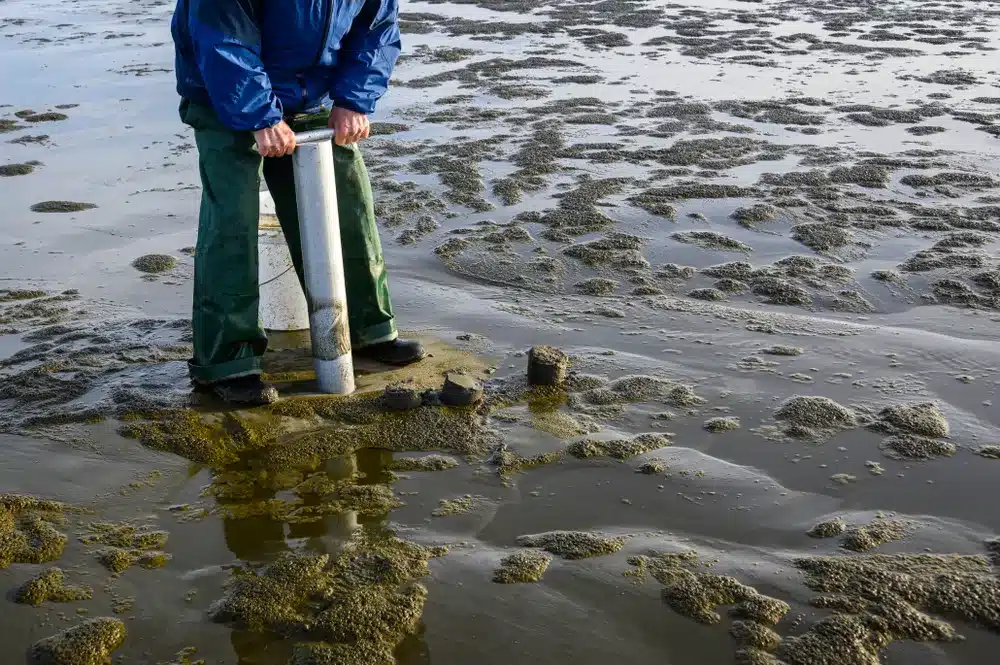
Once you’ve arrived at the shoreline an hour or two before low tide with the proper gear, the first thing to start looking for is signs of clams in the sand.
These markers are usually one of three distinctive holes; a dimple, a doughnut, and a keyhole. They range in size from anywhere to less than the size of a dime up to a quarter.
Dimples are circular depressions in the sand that don’t always show a clear hole. A keyhole is basically a neat circle in the sand, and a doughnut is a circle that is partially raised.
Each of these ‘clam shows’ is a good indicator that a clam is just below. Sometimes, but not always, the bigger the hole, the bigger the clam.
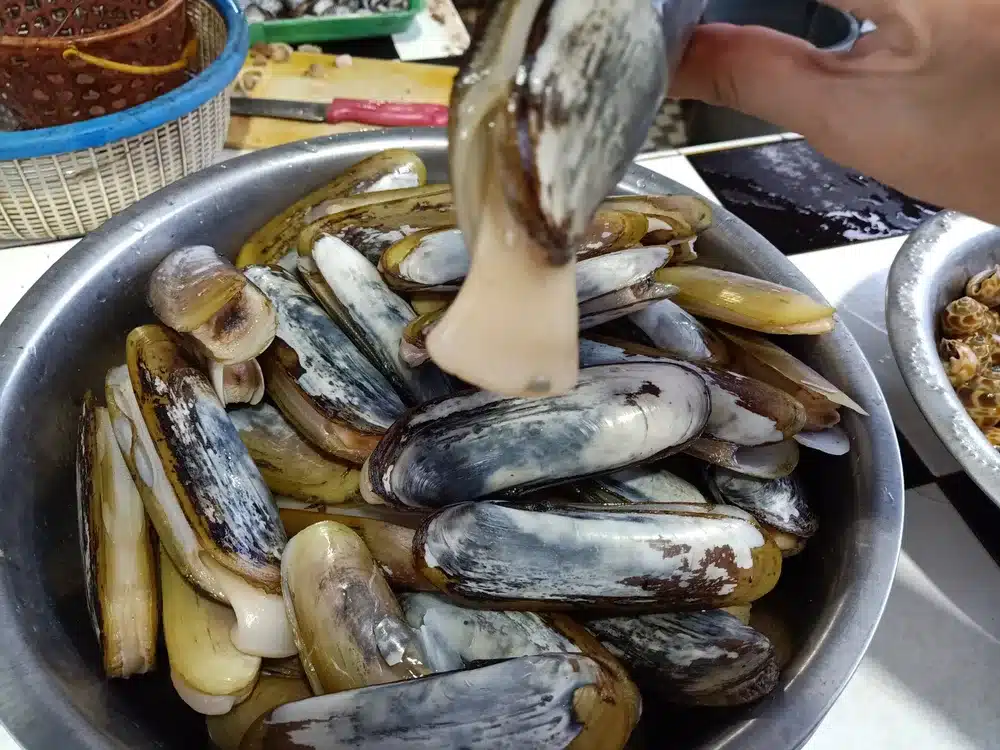
Preparation of Razor Clams
Once you’ve caught your clams and returned home to cook them, let’s talk about preparation. The first step is to clean and purge them, as with all bivalves.
Purge and Rinse
To purge, rinse all sand from the shells, and place them in a separate container or bucket of cold tap water with a cloth over the top.
While store-bought clams are usually cleaned already, clams caught in the wild are recommended to purge for up to 6 hours. This process is where the sand and impurities are passed through the clams before you cook them.
Blanche
Once they’ve been properly purged, to open the clams, some people use the blanching method where you pour a large boiling pot (1 quart for every 15 clams) of water over the clams, wait 10 seconds, and then dump the water down the drain.
Purists argue that blanching partially cooks the meat, so they opt to open their clams manually and carefully using a paring knife.
Remove the Clam
The next important step is to remove the meat from the shell, using a sharp narrow blade running along the bottom of the shell until the abductor’s muscles are detached, and you’re left with the meat.
Using kitchen shears, cut off the tip of the siphon end and then length-wise, essentially butterflying the clam. Be sure to thoroughly rinse out any sand near the siphon that didn’t get purged.
It’s down to personal preference if you want to remove the brown bits, which are essentially the internal organs, or if you’d rather eat them whole.
Tools and Tips For Clam Digging
Supply List:
- Shellfish License
- Bucket
- Mesh Net
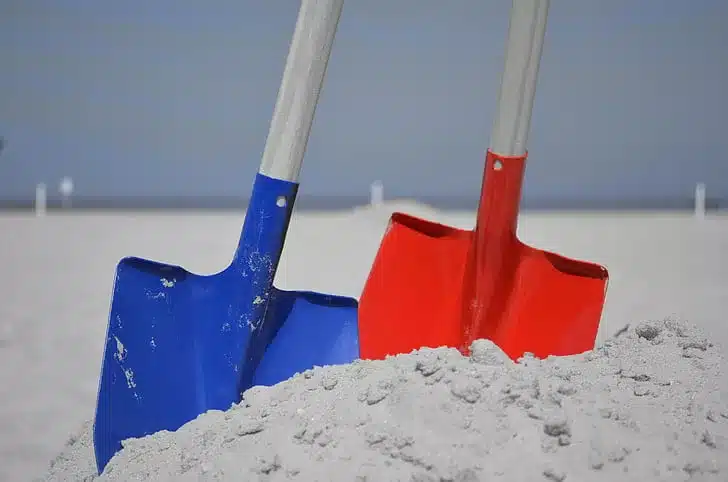
- Clamming shovel or “Clam Gun”
- Gloves
- Headlight
Clamming is an activity suitable for kids and senior citizens alike on the Washington Coast. All you’ll need aside from your shellfish license is a bucket or a mesh net for storage, a clamming shovel, or, if you really want an edge and you’re new to the sport, a short PVC tube called a ‘clam gun’ that can be purchased at Dennis Hardware in town.
Gloves are recommended because they don’t call them razor clams for nothing. They also provide warmth from the cold. If you insist on digging in winter, you’ll also want a headlight because low tides occur after dark.
For storage, some professionals recommend a mesh bag to let out the extra water so as not to weigh down your catch.
If you’re a guest at one of our vacation rental homes, a clam gun, headlight, and mesh bag are all provided for you to use.
Using a Clam Shovel
Once you’ve located your clam show, it’s time to position yourself and the blade of your shovel.
- Drop to one knee and insert the shovel 4-6” into the wet sand vertically (this will keep the blade from breaking the shell).
- Remove sand by pulling the shovel toward you at an upward angle and repeat until you see the top of the clam.
- Once you can see the clamshell, it’s time to reach down with your hands and grab it before it digs deeper and out of reach. Bivalves are incapable of digging any way but straight down, so there’s no escape for them so long as you’re a faster digger.
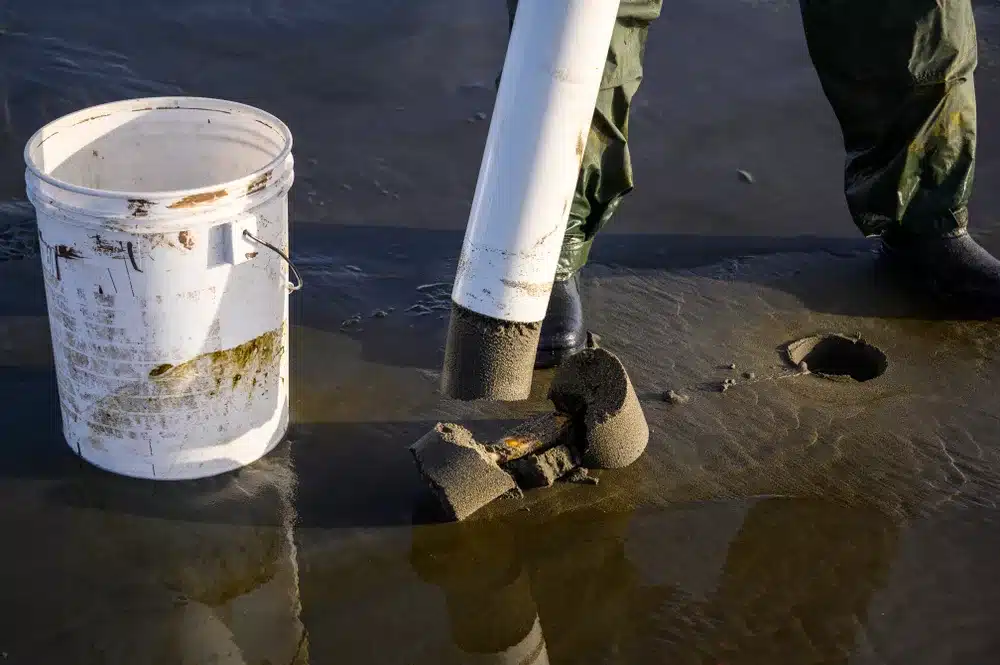
Using a Clam Gun
A clam gun is highly recommended for beginners. They are much easier to use, require less digging, and offer a lower chance of cracking the shell.
- Pointing the open end of the tube at your clam show, tip the gun at an angle so the top is closer to you and the bottom is closer to the sea.
- Try keeping the tube centered around your clam show to minimize rupturing your catch.
- Push the opening of the tube into the wet sand. You may need to put some body weight and twisting motions into it. Don’t be afraid of looking silly; it’s all in the name of clamming!
- Once the tube is at least 6” deep or the bulk of the tube is submerged, pull it out and to the side.
- Within the pile of sand that falls out of the bottom, you should be able to locate your razor clam. It’s as easy as that.
Oysters in Willapa Bay
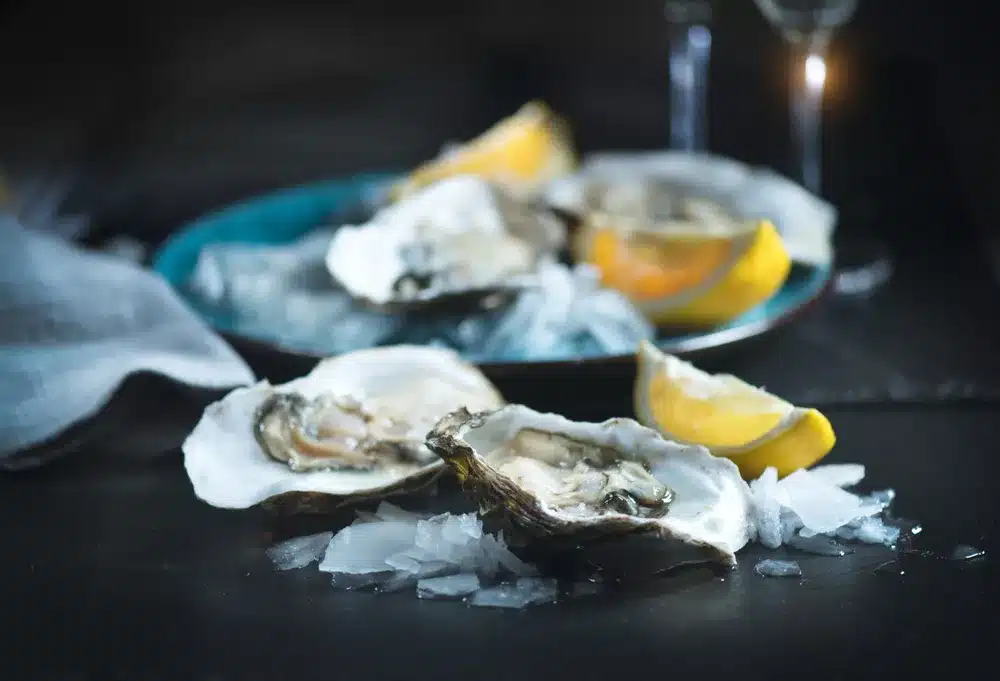
Once you’ve met your catch limit, many clammers with shellfish fever will drive north to Willapa Bay in a small town called Oysterville for oysters.
Here you can again harvest 15 more oysters with the same license. Oysters are fortunately very easy to catch, and this area of Washington is known for them. Remember that this only applies to a seaweed/ shellfish license, not the razor clam license.
Where to Eat Clams Nearby
If you’re returning with an empty bucket, and all your digging efforts weren’t successful, don’t feel discouraged. There are plenty of restaurants in Long Beach to enjoy razor clams without all of the hassles of cleaning and cooking.
Drop Anchor Seafood & Grill offers an array of razor clam dishes, including clam chowder. If you were set on frying or cooking up your own clams, Crab Pot Seafood Market is a place you can go to buy your own and a Dungeness crab or two to go with your seafood feast.
Dig In and Stay in Long Beach
With this guide, you’ll be sure to score some tasty mollusks, whether this is your first time digging in the sand or just your first time digging in this region.
Our Beachhousewa vacation house rentals are located just a few minutes walk to the beach, making them perfect for your clam season adventures!